Sunday, October 20, 2013

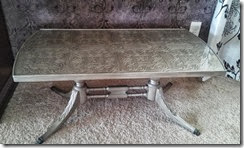
Metallic Coffee Table….

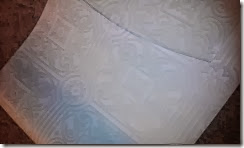
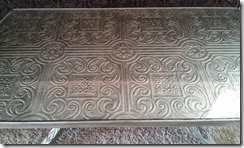
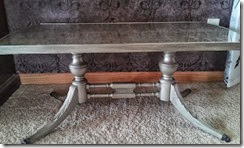
This little coffee table was so fun!! I scored this cute little find at a garage sale. I purchased paintable textured wall paper and cut it to fit in the top….I followed the manufacturer’s directions.

IMG_20131012_200525

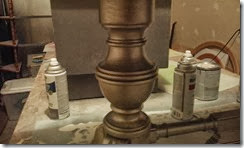
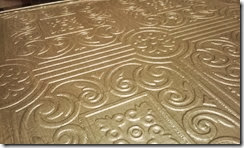
The next step was a coat of primer over the whole coffee table. I painted Martha Stewart’s metallic paint in Silver Leaf over the entire coffee table.

IMG_20131019_174339

IMG_20131019_174356

I mixed a glaze of a very dark silver paint, black paint and glaze and went over the entire coffee table. I’m pretty excited about this pretty little table!!!

IMG_20131020_153148IMG_20131020_153153IMG_20131020_153202

Tuesday, March 6, 2012

Family Message Area…

Well…upon much protest from my husband I changed a tiny little wall in the kitchen. I had a wire rack that had pictures stuck in it and keys hanging on it and just generally looked a mess (I forgot before pics)

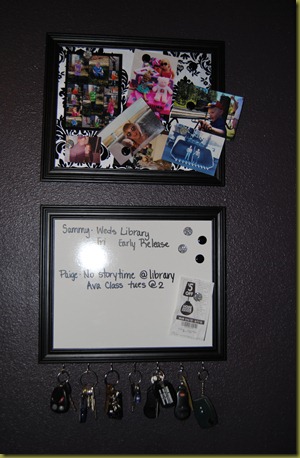
I make message boards with a chalkboard surface or dry erase for my crafty business but believe it or not I didn’t have one. So as I was cruising through Pinerest I stumbled upon this blog post with a fabric covered magnetic board….and was inspired.

So I went to Walmart and bought 2 matching frames for $5 each. I did a fabric covered magnetic board for one and I dry erase magnetic board for the other. Then I screwed hooks into the bottom of the dry erase one to hold keys.

DSC_0314

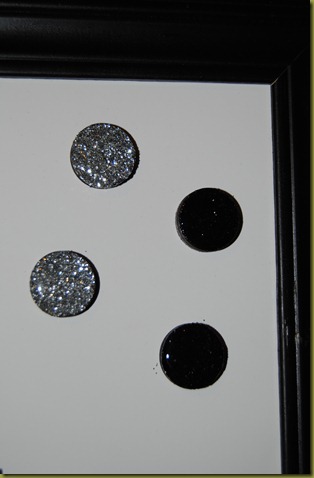
Of course I had to make my own magnets…so I made silver and black glitter magnets. The black was quite as sparkly as the silver….but I was still excited about the results!!

DSC_0315

So between sick kids, school work and crafting for  my little business I have been trying to sneak in some Pinterest projects….

Have a great night :0) Heather

Monday, February 27, 2012

Fabric Covered Boxes…..So Easy….

First off….pizza with Cauliflower crust….was delicious! Everyone in our house ate it and loved it and there was not one complaint!! Here’s the recipe.

I started the daunting process of cleaning my daughters room. I don’t know why I let them get so bad before I take care of the problem. So this time we are doing some new organization.

I am going to have my husband take the closet doors off for us and maybe hang some curtains on the inside….or figure something out. I’ve never had good luck with closet doors and I’m tired of them. So to get started on that project I’m going to have to tidy up the closets.

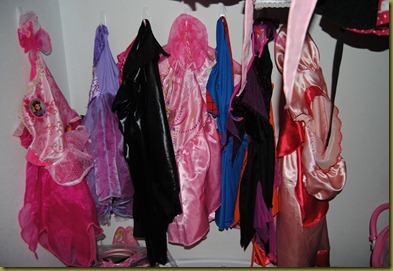
The first thing I did was to hang hooks all along one section of the closet for my daughters many costumes (her favorite being a red Power Ranger costume…when she wears it she makes us call her Scott.) My kids love to dress up so this will hopefully  (fingers crossed) keep the costumes off the floor.
DSC_0297

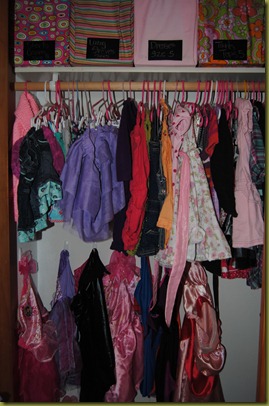
So the next problem to address (not really a problem because I’m so grateful for it….) are the two bins of hand me downs from my sister-in-law and the unsightly shelf.

Now keep in mind…these boxes AREN’T perfect and they are messy…but on a shelf 6 feet up they look great! The cost $0….can’t beat FREE!!!!
DSC_0300

So don’t mind the clothes in between….they do need to be sorted out and clothes that are too small pulled out!

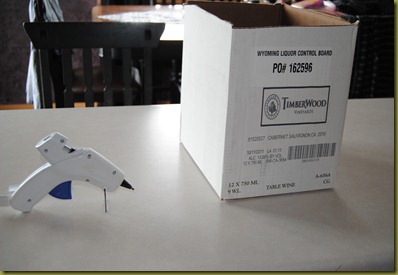
Here’s the steps for the boxes….I scored my boxes from a liquor store. They stack them up outside every day. I grabbed 4 to get started.
DSC_0281

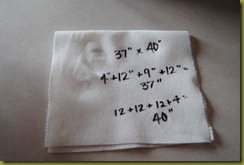
While the glue gun warmed up I measured my boxes by measuring the height+width+height+4” and then height+length+height+4”. 
DSC_0282

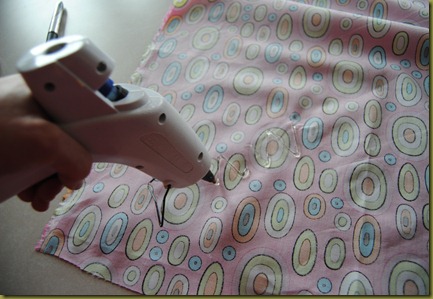
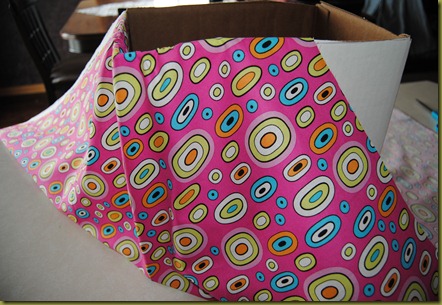
I cut my fabric and quickly ironed. Then I centered my box on the fabric and folded up the corner to figure out where to start gluing….I placed quite a lot of glue (I’m quite adhesive happy) on the corners. Folded all four in then I started on the sides.
DSC_0285

DSC_0284

After all 4 corners were done I pulled the sides up to fold in to make a somewhat flat surface…with gathering at the corners. (Hopefully my pictures will show better than I’m explaining)
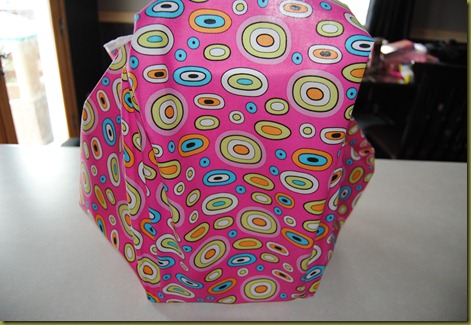
DSC_0287

I put the box on its side and went crazy with the glue and folded the flap down.
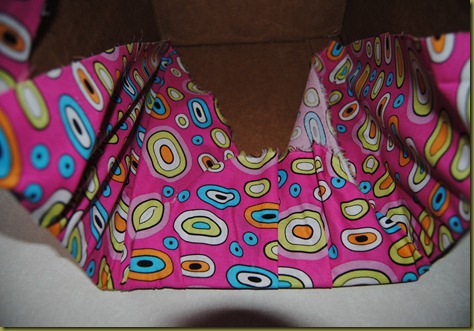
DSC_0289

Do all four sides and the box is finished. Now you could do it much neater and line the inside to hide the mess…but beings as mine aren’t going to be used for anything but storing extra clothing I wasn’t too worried about that.
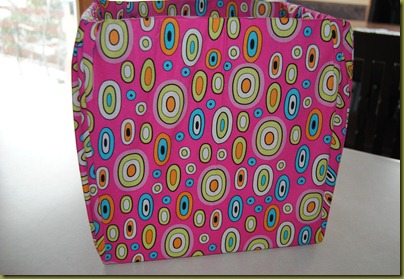
DSC_0291

For the chalkboard on the side. I cut a piece of chipboard 3”x5” and a piece of chalkboard Contact Paper….about 4”x6”. Put the Contact Paper on the chipboard and trim corners like so.
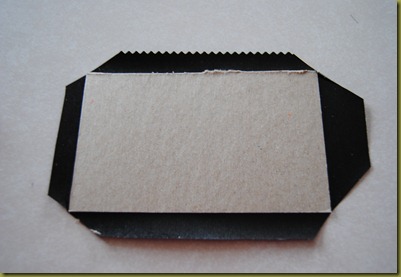
DSC_0293

Fold the edges to the back side….Hot glue on and the boxes are ready to go!!!
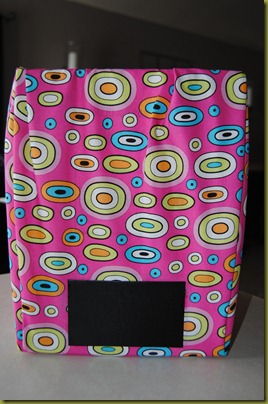
DSC_0294

So super sloppy…I didn’t buy any supplies…I just used fabric that I had hence the hodge podge of fabrics. When you pick fabric, use a thicker fabric. My light pink box is so light you can see the writing through the fabric.
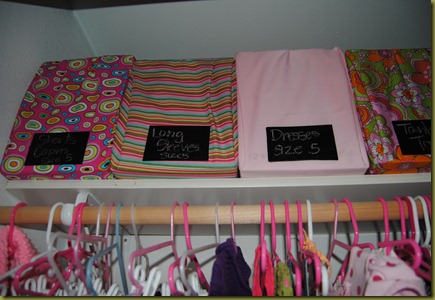
DSC_0298

Tomorrow I will wrap up P’s bedroom and get started on my sons….

Have a great night!!! Heather

Sunday, February 26, 2012

Pinterest Inspired Weekend….

I had a busy weekend….spending time with my cute little family…cleaning…organizing…and finishing up little projects I had laying around.

Saturday morning we started the day off with one of our favorite new breakfasts we got off Pinterest….the only thing I do is I put them inside cupcake wrappers so they don’t make a huge mess in the pans.

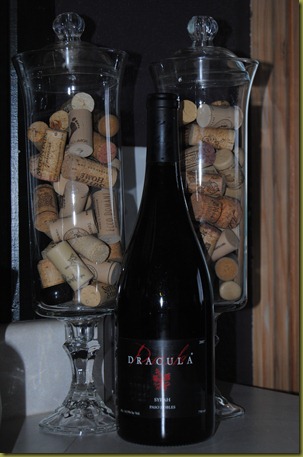
I was able to move around my dollar store apothecary jars (see prior post) and filled two of them with wine corks for the kitchen….not sure where the third will go yet.

DSC_0262

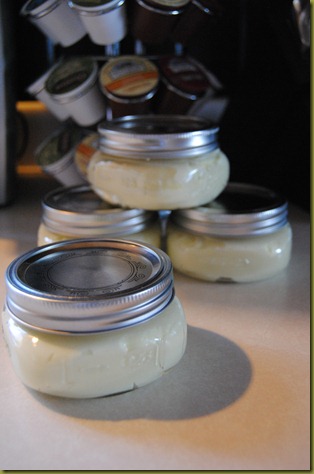
I made a lotion mix I got off Pinterest from this website….for my incredibly dry dry hands. So far so good! No burning from the lotion and my hands are incredibly soft!!! It goes on very thick…so a little goes a long way!

DSC_0253

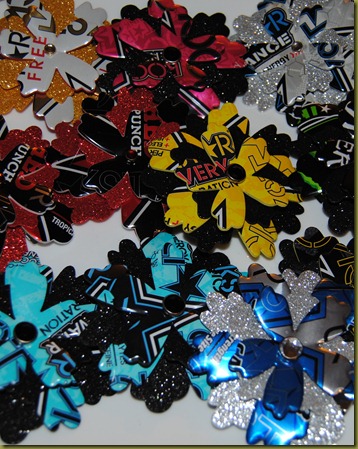
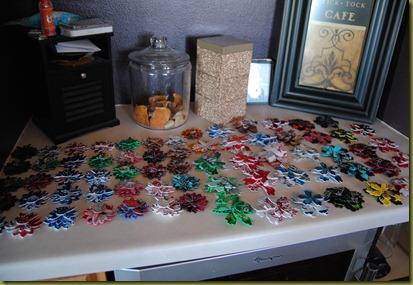
I wrapped up and put backs on almost 80 pop can flowers to sell at a tradeshow and on my Etsy Store (which is kind of bare at the moment!)  Check out my Facebook page…I just jumped on the bandwagon and got it started!!

DSC_0271

Sunday was all about vinyl….I started the cleaning my office/craft area. Wow….I had to clear a path to get through the door. I hate that I let it get that way, it’s so unproductive.

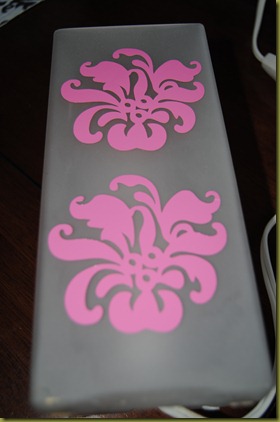
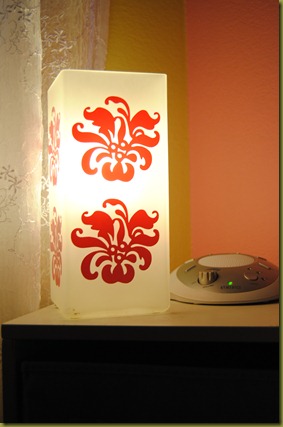
I started cutting vinyl. I took a lamp that I bought for my daughter at a consignment store and added some pink flowery designs to it….it’s pretty self explanatory. I cut the vinyl with my Cricut. To know how large to make the design I measured the width of the lamp. Which was 3 1/2”. Hit the Fit to Length feature button on my Cricut and set the size dial to 3 1/4”. It automatically calculated that the design needed to be 3” tall. So I cut out six (I didn’t put any on the back) and went to sticking.

DSC_0279

DSC_0280

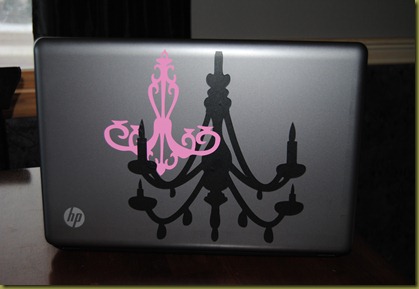
I cut out 2 chandeliers to go on my boring gray laptop in black and pink. I could have swore I had white vinyl…but I couldn’t find it. I would like to add a 3rd on in the lower left corner in white.

DSC_0277

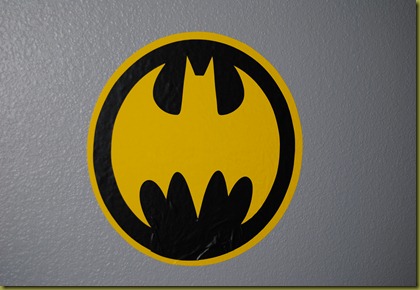
Then I made the “Bat Signal” as my son calls it to go above his desk in his room. However, I was informed that I did it wrong so when I tackle organizing his room this week I will redo it. Evidently the bat is supposed to be black not yellow…but I was just following the picture on the box for the Cricut cartridge….sigh.

DSC_0276

Hope everyone had a good weekend! This week is my first official stay-at-home mom week…no working until April when my life saving and sanity saving mother-in-law returns from her vacation. So it will be interesting to see how it goes! I plan on getting lots of school work done, crafting and working through my house cleaning and organizing one room at a time!!

Have a great night!! Heather

Friday, February 24, 2012

Everyone Has Stuff They’re Good At….

I have discovered or…rather remembered after about 3 hours that I can not bake….no matter what I do or try I just can’t bake. I’m not sure what makes me think I can….I suppose the getting lucky and finding the perfect cookie recipe added to the confidence that I had going into the kitchen today. Needless to say it isn’t a pretty site.

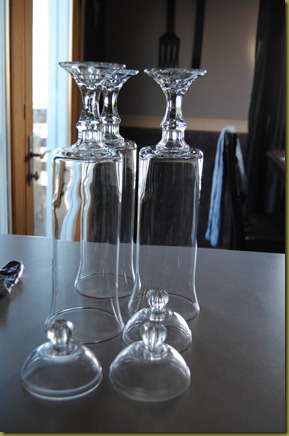
My day started off very productive…with another Pinterest project. I made the Apothecary Jars off of Dollar Store Crafts blog. Here is a preview and a link to the tutorial.

DSC_0247

I bought the last three tall vases at our Dollar Tree, 3 candle sticks and a set of 4 glass bowls. I also ran to Home Depot and purchased the knobs for the lids. I used my trusty E-600 adhesive to glue the candle sticks on the bottoms of the vases and the knobs on the bottoms of the bowls….and there they sit. While I patiently wait for them to dry until I can put them to use.

Then I moved on to the next project….pop can flowers. I had a stash of about 20 cans that needed cut up and backed with foam. Then I started cutting with the help of one of the best little crafters in training I know. When that project was all said and done I now have 70 flowers that need assembled.

DSC_0248

So after this started the trouble with my afternoon. I found a super yummy recipe for Oreo Cupcakes on Pinterest. I got out all the goodies and put them together. Well….I thought I was doing good until after they were in the oven for a few minutes I realized I hadn’t set the timer. That’s okay right….I’ll just keep a constant eye on them and they will be fine.

On to the next project. I went with Mini Banana Cream pies also a recipe off Pinterest. Well I went the lazy route and bought the graham cracker crust already done….little ones. They looked so cute and yummy! I made the filling…it doesn’t taste half bad. So I think I’m golden. (I’m still checking the cupcakes and they are not done.)

Get all my little mini pies done and I’m going to put caramel drizzle over the tops of them….well it was pretty for about 32 seconds…then because the filling was still warm I now have a total disaster. My pies are edible but they don’t look it.

Back to the cupcakes…in a matter of nano seconds…I’ll be darned if they didn’t get a little golden…and by a little golden I don’t mean burnt…but golden enough to be crunchy….yes crunchy. I can still save this I’m thinking….so I make the frosting. But guess what….my $10 mixer from Wal-Mart decides it doesn’t want to work anymore. So now I’m whipping frosting by hand. Which tastes like….well….not good.

So at the end of my baking experience….I have 11 gross looking mini banana cream pies….a cooling rack of crispy cupcakes….and a burnt up mixer! Go me!!

So I think the best thing to do is give it up for the day and try again tomorrow!!!

Have a good night! Heather

Thursday, February 23, 2012

Pinterest Project….Dollar Store Mirror

pb inspired mirror tutorial

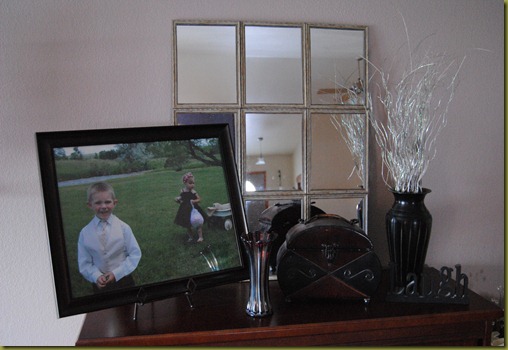
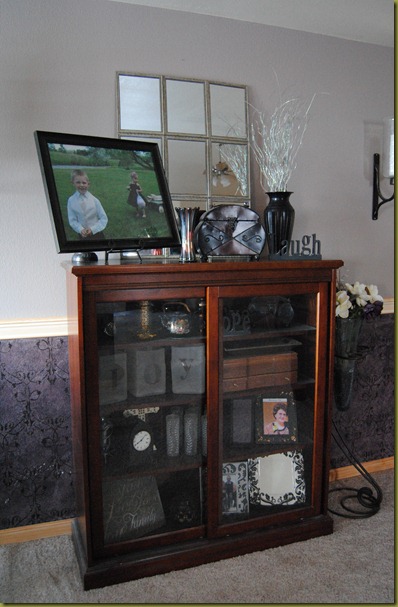
Okay….so I took a pinning break and tried it…my little helper and I went to Dollar Tree this morning and bought the supplies listed on the Dollar Store Crafts Blog….I am not taking credit for this project. If you would like step by step directions they have a great tutorial. I followed the directions and this is what I came up with. I am not 100% happy with it yet. I think that to go with my décor and the space I’m putting it in I will actually go get 6 more mirrors to make it bigger and reinforce it better than I did.

My Little Helper and I picked out silver frames that are kind of aged with a brown….which I’m glad I did. It really lightens up the area that I put it!

DSC_0244

Now….don’t mind the dust it may have been awhile since I last dusted….

DSC_0246

All right….so there you have it. I will testify that the Pottery Barn inspired mirror from the Dollar Store Crafts website was easy and fast to make…as well as inexpensive. So far I have $10 into it and when I purchase the 6 additional mirrors I will have $6 more into it. Not bad for a quick facelift and something new!!

I give this project 4 out of 5 stars :0) Happy crafting and pinning!!!

Heather
Wednesday, February 22, 2012

Pinterest Band Wagon

So I'm pretty terrible about posting regularly....however....I have jumped on the Pinterest band wagon and have been pinning and thinking about crafting pretty heavily. (Follow me on Pinterest)

I've had lots of changes in my little life. I'm no longer working a regular job. I'm substitute teaching when I have the time and am going back to school for my degree in elementary education. I have also hit the craft show circuit with my friend DeeDee @ UmWow Studios. Here are some shots from the latest craft fair:


So in a small nutshell that's what I've been up to! DeeDee has also encouraged me to get going on my blog again so....that's what I'm going to attempt to do!!!

I thought it would be fun to post what I have been up to on Pinterest! So as I complete projects I'll post the befores and afters and if it worked or not. So to all my fellow Pinners...Happy Pinning...and get Creating!!!!